
 So, from my last post I began the process of making my own, home made sourdough.
Firstly was off to my local GoVita health food shop, where I discovered there were many, many different types of flours...buckwheat, spelt, rice, quinoa, stoneground whole grain, organic, bio-dynamic, ect, ect...but funnily enough, no plain organic flour. However they did have organic rye flour.
Finding all of my ingredients seemed to take a little time. I could not manage to get any bakers yeast, and my organic plain flour came from Safeway. However, I'm sure I could find all the ingredients in Melbourne. But I have to make do.
I have always been too impatient to take the time to make the starter, but this time I was doing it. Just as I learnt from Eric Kayser, patience is they key.
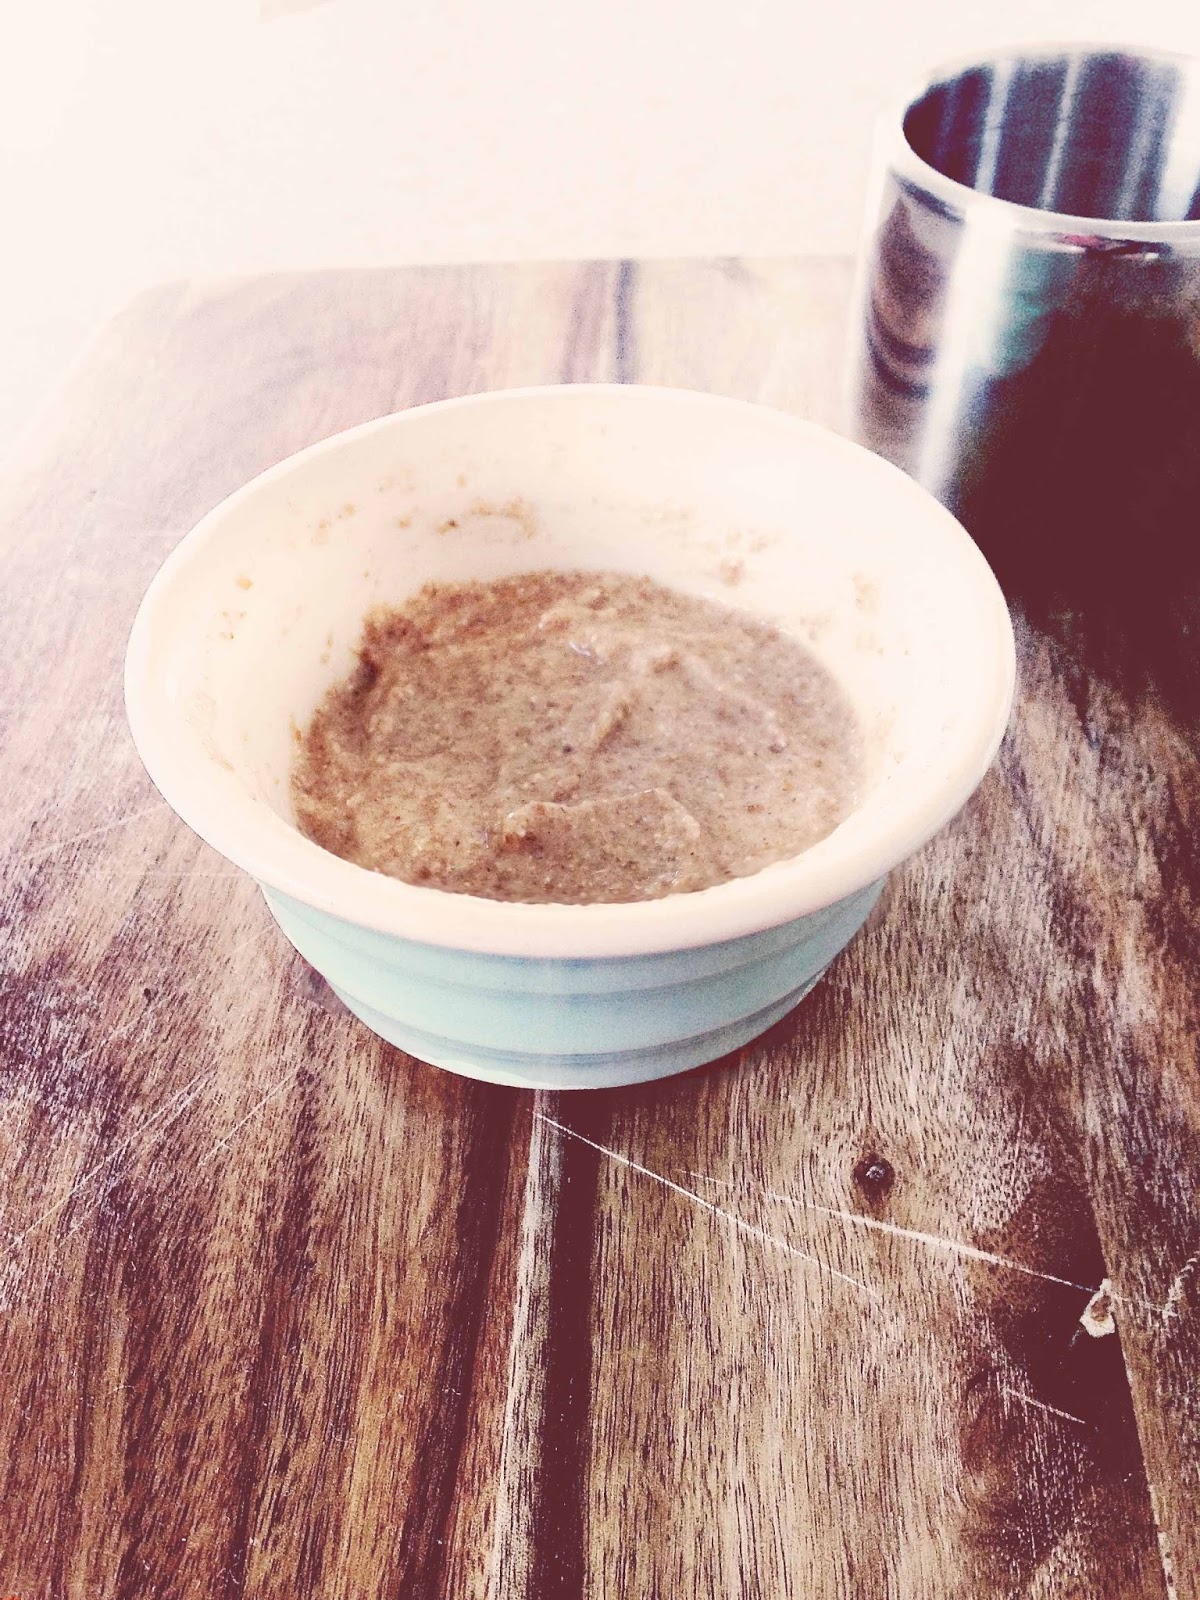 So to start my sourdough starter, I mixed 20g organic rye flour, 20g water and 5g honey in a bowel. The mixture seemed really thick, but I followed the recipe to the gram. So, as the recipe said, I then covered with a towel & leave 24hrs on the bench.
Now apparently, I should be seeing bubbles in the surface...no, no bubbles...Ok, I'll try the next step.
Add to the mixture 40g rye flour, 40g water and 5 g honey, cover and leave overnight. Still thick..hmmm...well, I'll just see how it goes.
Add to the mixture 40g rye flour, 40g water and 5 g honey, cover and leave overnight. Still thick..hmmm...well, I'll just see how it goes.
'The mixture will be bubbling noticeably' Well, only a couple of small bubbles...No, not happy. Start again.
Then next batch of starter I made seemed a bit better, but I think this was because I added a little extra water each time, and I melted the honey.
 After many trials, I figured out the success to a good sourdough starter. Here are my tips.
• Always use warm, not hot water
• Leave starter in a warm place. I leave mine on top of my hot water service in an esky, or you could leave in the oven with just the light on (i do this also with my co-yo).
• If you are putting it in the oven, make sure to cover the jar/bowl with a damp tea towel & wrap the jar/bowl in another towel. You want to keep it insulated, but don't want it drying out.
• Don't use the lid on the jar, unless you are putting in the fridge to keep. The starter needs to breathe. I cover mine with double layer cloth & tie down with some twine.
• The first step will always be thicker than expected, but this is ok. If you follow the above 2 tips, the starter will slowly thin out, and reach a pancake batter constancy.
Ingredients
• 140g organic light, medium or dark rye flour
• 240g water at 30C temperature
• 10g Clear, plain honey
• 100g all purpose plain flour
DAY 1
 Mix 20g Rye flour with 20g water in a small bowl. Then add 5g (3/4 teaspoon) honey. Cover with a clean cloth and leave for 24hrs in a warm place.
DAY 2
Small bubbles will have formed on the surface. In a larger bowl/jar, mix together 40g Rye Flour and 40g water and 5g (3/4 teaspoon) honey. Then stir in the mix from the first day. This is called 'feeding' or 'refreshing' the starter. Cover with a clean cloth and leave to ferment in a warm place, for 24 hours.
DAY 3
The mixture will be bubbling noticeably. Mix 80g Rye Flour and 80g water into a larger bowl/jar. Blend in the mix from the 2nd day. Cover and leave to ferment for 24 hours.
DAY 4
To the third day mix, add the 100g plain flour and 100g water. Stir well. Your starter is now ready to use. It should have the consistency of thick pancake batter.
Store it in a glass jar, covered with a cloth. This will keep for 3 days until it will need to be 'refreshed' again (see below). Or it can be kept for some time in the fridge, with an airtight lid on the jar.
The starter will remain alive for an average of 3 days after it has been refreshed. Accordingly, it should be refreshed at 3 day intervals by adding 50% of its own weight in water & flour.
For instance, if you have 300g starter left, add 75g flour & 75g water.
If you will not be baking bread for several days, or if the ambient temperature rises, seal the jar tightly and store it in the fridge.
You can adapt the initial quantity of starter, depending on how often you plan to bake.
My next post will be all about how to use the sourdough starter to make your delicious Sourdough Bread!
 After many trials, I figured out the success to a good sourdough starter. Here are my tips.
• Always use warm, not hot water
• Leave starter in a warm place. I leave mine on top of my hot water service in an esky, or you could leave in the oven with just the light on (i do this also with my co-yo).
• If you are putting it in the oven, make sure to cover the jar/bowl with a damp tea towel & wrap the jar/bowl in another towel. You want to keep it insulated, but don't want it drying out.
• Don't use the lid on the jar, unless you are putting in the fridge to keep. The starter needs to breathe. I cover mine with double layer cloth & tie down with some twine.
• The first step will always be thicker than expected, but this is ok. If you follow the above 2 tips, the starter will slowly thin out, and reach a pancake batter constancy.
Liquid Sourdough Starter
from 'The Larousse book of Bread' by Eric KayserIngredients
• 140g organic light, medium or dark rye flour
• 240g water at 30C temperature
• 10g Clear, plain honey
• 100g all purpose plain flour
DAY 1

DAY 2
Small bubbles will have formed on the surface. In a larger bowl/jar, mix together 40g Rye Flour and 40g water and 5g (3/4 teaspoon) honey. Then stir in the mix from the first day. This is called 'feeding' or 'refreshing' the starter. Cover with a clean cloth and leave to ferment in a warm place, for 24 hours.
DAY 3
The mixture will be bubbling noticeably. Mix 80g Rye Flour and 80g water into a larger bowl/jar. Blend in the mix from the 2nd day. Cover and leave to ferment for 24 hours.
DAY 4
To the third day mix, add the 100g plain flour and 100g water. Stir well. Your starter is now ready to use. It should have the consistency of thick pancake batter.
Store it in a glass jar, covered with a cloth. This will keep for 3 days until it will need to be 'refreshed' again (see below). Or it can be kept for some time in the fridge, with an airtight lid on the jar.
 Caring for the starter
The starter will remain alive for an average of 3 days after it has been refreshed. Accordingly, it should be refreshed at 3 day intervals by adding 50% of its own weight in water & flour.
For instance, if you have 300g starter left, add 75g flour & 75g water.
If you will not be baking bread for several days, or if the ambient temperature rises, seal the jar tightly and store it in the fridge.
You can adapt the initial quantity of starter, depending on how often you plan to bake.
My next post will be all about how to use the sourdough starter to make your delicious Sourdough Bread!
No comments:
Post a Comment